PipelinePRO (gopipelinepro.com) is a sales and marketing platform that allows business owners to track their entire Sales routine from front to back and analyze the leads. It provides a simplified dashboard for statistics to minimize the confusion that comes with complex analytics.
TraceMyIP on the other hand, ads new and effective tools to see additional information about website visitors, their origins, locations, detailed activity, and get visitor notifications.📈 Sign Up now to instantly track website visitors IPs!
Visitor Tracker code installation for PipelinePRO
PipelinePRO has limited functionality for a global visitor tracker code installation in the header and the footer of a website. Therefore, each page you create with PipelinePRO needs the same TraceMyIP code installed in the header or a footer portion of the website.
Step 1: Generate TraceMyIP visitor tracker code
When you create your Visitor Tracker Code, pick the “PipelinePRO” option from the code type drop-down menu
![]()
If you are unfamiliar with how to get your Visitor Tracker code, you can read instructions on how to generate your visitor tracker code
You will need create a separate TraceMyIP project for each website or funnel that you create with PipelinePRO. Once you generate your visitor tracker code for a PipelinePRO for a funnel or a website, save it to use on all pages for the same website as you add more pages. Each new website page will need to have the same visitor tracker code added.
Step 2: Install a Website Visitor Tracker code
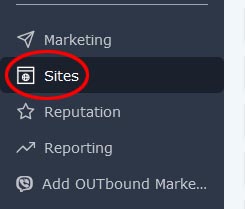
- Login to your PipelinePRO (gopipelinepro.com) account. Click on the “Sites” link using the main menu on the left
- Using the menu on the top, select “Funnels” or “Websites” to get access to your content

- Click on the “Edit” link for the unit that you would like to edit
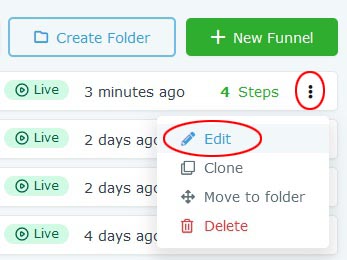
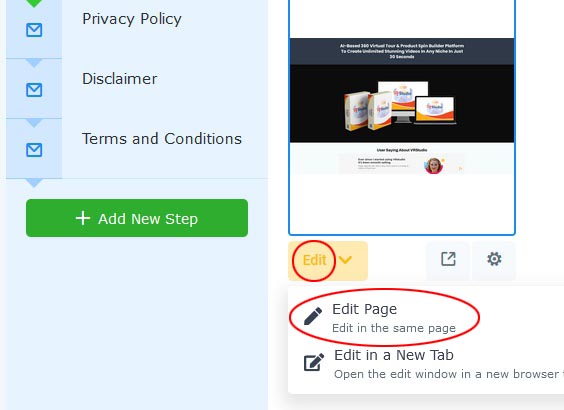
- Once you see the pages listed, click on the “Edit” menu and then on the “Edit Page” link to add a Visitor Tracker Code for each page that needs to be tracked
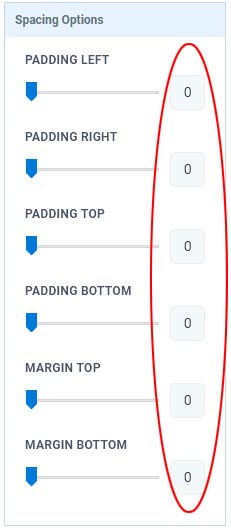
- On the following page, you can add a section (if not yet added). Then click on the section where the tracker is going to be and set all margins and padding to 0 if needed
- Click on “+ Add Element” for the selected section.

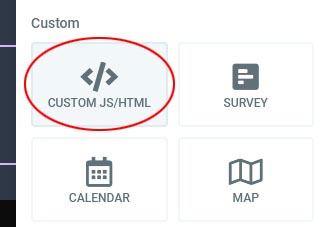
- Select a “CUSTOM JS/HTML” block
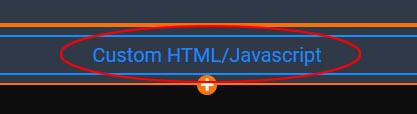
- Select the new “Custom HTML/Javascript” element
- Using the element settings box on the left, name the element “TraceMyIP Visitor Tracker”, set margins to 0, then click on the “Open Code Editor” button

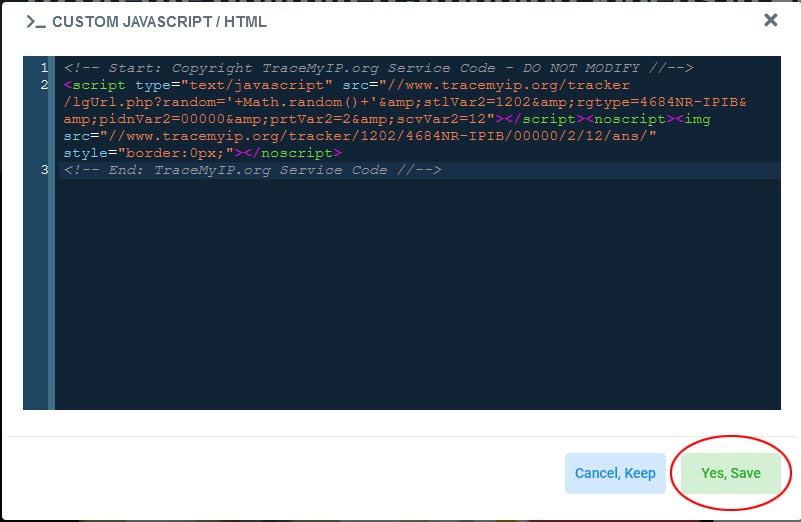
- Enter your TraceMyIP Visitor Tracker code in the box and click on the “Yes, Save” button
- In the upper right part of the editor, click on the PipelinePRO “Save” button to update your page
- Now check that the tracker icon shows up on the page when you preview the page. When the Visitor Tracker Code has been installed on all pages of your website, you can enable an invisible tracker mode if you need to hide the tracker.
🌍 Who visits your website? Sign Up now to find out instantly!